How to Configure TP-Link TL-MR3020 pocket router with custom subnet from cat-5 wired input
I have been a fan of the TP-Link nano routers since first seeing a tiny one for sale on a shelf in an electronics superstore in Singapore.
This is the third one I have used, purchased in November 2017:
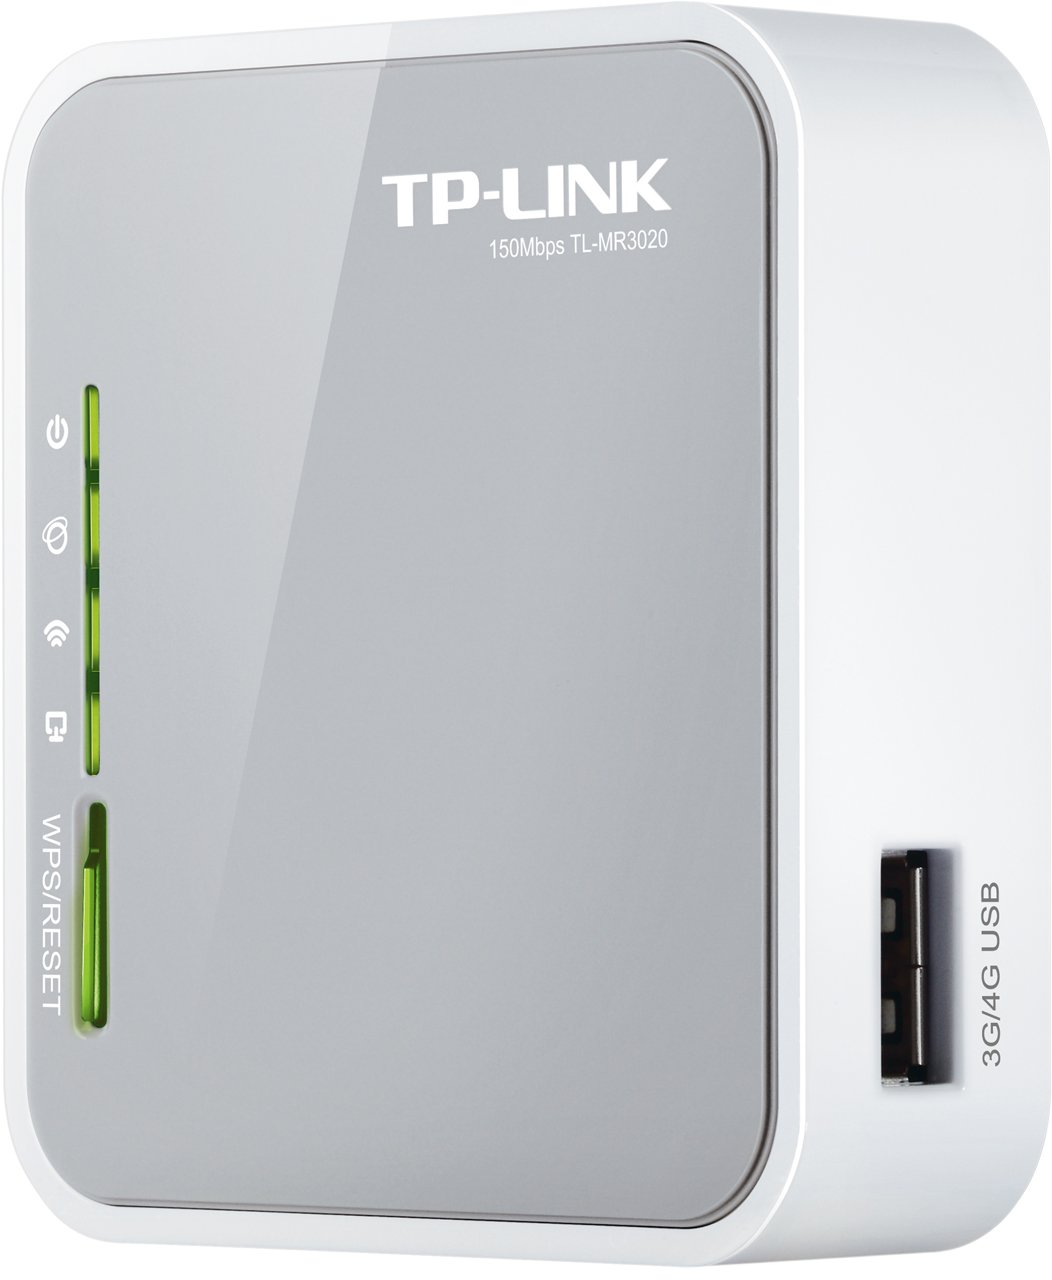
Model TP-MR3020
This new model has way more features ..... and took much longer to configure due to the plethora of FAQ pages without any simple overview and explanation. ( i.e. the older models were much easier but less powerful )
So this is what I figured out about the model MR-3020.
The hardware switch has 3 modes. The names of the modes are mildly related to what the mode offers, but one should not ignore a mode just because its name seems incorrect! Each mode leads to a different set of configuration choices. In my case, I wanted the input from the wired cat-5 ethernet cable and I wanted "output" of a wireless LAN with a custom subnet, example 192.168.15.x. This worked using the mode with label "3G/4G" even though I did not plug anything into the 3g port. !! It works because after selecting the 3G/4G mode, the configuration choices include a radio button option where "WAN" is the main input and "3G/4G" is a backup input.
The mode with label "AP" for Access Point works without any customizations; just give the router input signal from a wired cat-5 cable. However, in "AP" mode, you cannot customize the subnet. You end up on the subnet of the upstream router, perhaps 10.0.0.x.
The mode with label "WISP" takes its input from an upstream WIRELESS connection and then shares that to a subnet. Amazing, cool, but not what I wanted. (You have to enter the security settings to connect to the upstream network.)
Okay, so the first key point about this router is that it is worth trying all modes in order to find the menu choices that match your use-case. Do not be too concerned with the english words chosen for the modes and menu choices; they are too often misleading abbreviations.
The next thing to realize is that the way to configure the router initially, if you want to customize anything, is to connect yourself to it via wired ethernet cable, and that you need to give yourself a static ip number because it won't have DHCP operating by default. Look at the sticker on the router. It will tell you the default subnet, e.g. 192.168.0.x, so you put yourself on a static number such as 192.168.0.10 and then you can get in over http to http://192.168.0.1/ with admin, admin. There are FAQs to explain this in tedious detail but all you really need to know is that when your laptop is wired into the router with cat-5, you need to make your laptop static during the initial configuration process.
Once connected, you can change the SSID, password, etc. In WISP and 3G/4G modes, you can enable a private local subnet (routing). You can also find features for DHCP, DMZ and security. The range of features is massive and the "product data sheet" PDF from TP-Link does not do it justice.
Final surprise, once you are into the web interface, you can find your way to a software override of the 3-mode hardware switch. !! So if you want to, you can toggle the fundamental mode from software. I thought it was a little more self-documenting to use the little hardware switch to indicate the mode (and power off, switch it, wait a few seconds, then power on, to avoid super confusing results). I mention the software override because if you end up configuring someone else's TP-Link router, you might be tempted to think that the hardware mode switch indicated the actual operating mode ..... but it might not.
This is the third one I have used, purchased in November 2017:
Model TP-MR3020
This new model has way more features ..... and took much longer to configure due to the plethora of FAQ pages without any simple overview and explanation. ( i.e. the older models were much easier but less powerful )
So this is what I figured out about the model MR-3020.
The hardware switch has 3 modes. The names of the modes are mildly related to what the mode offers, but one should not ignore a mode just because its name seems incorrect! Each mode leads to a different set of configuration choices. In my case, I wanted the input from the wired cat-5 ethernet cable and I wanted "output" of a wireless LAN with a custom subnet, example 192.168.15.x. This worked using the mode with label "3G/4G" even though I did not plug anything into the 3g port. !! It works because after selecting the 3G/4G mode, the configuration choices include a radio button option where "WAN" is the main input and "3G/4G" is a backup input.
The mode with label "AP" for Access Point works without any customizations; just give the router input signal from a wired cat-5 cable. However, in "AP" mode, you cannot customize the subnet. You end up on the subnet of the upstream router, perhaps 10.0.0.x.
The mode with label "WISP" takes its input from an upstream WIRELESS connection and then shares that to a subnet. Amazing, cool, but not what I wanted. (You have to enter the security settings to connect to the upstream network.)
Okay, so the first key point about this router is that it is worth trying all modes in order to find the menu choices that match your use-case. Do not be too concerned with the english words chosen for the modes and menu choices; they are too often misleading abbreviations.
The next thing to realize is that the way to configure the router initially, if you want to customize anything, is to connect yourself to it via wired ethernet cable, and that you need to give yourself a static ip number because it won't have DHCP operating by default. Look at the sticker on the router. It will tell you the default subnet, e.g. 192.168.0.x, so you put yourself on a static number such as 192.168.0.10 and then you can get in over http to http://192.168.0.1/ with admin, admin. There are FAQs to explain this in tedious detail but all you really need to know is that when your laptop is wired into the router with cat-5, you need to make your laptop static during the initial configuration process.
Once connected, you can change the SSID, password, etc. In WISP and 3G/4G modes, you can enable a private local subnet (routing). You can also find features for DHCP, DMZ and security. The range of features is massive and the "product data sheet" PDF from TP-Link does not do it justice.
Final surprise, once you are into the web interface, you can find your way to a software override of the 3-mode hardware switch. !! So if you want to, you can toggle the fundamental mode from software. I thought it was a little more self-documenting to use the little hardware switch to indicate the mode (and power off, switch it, wait a few seconds, then power on, to avoid super confusing results). I mention the software override because if you end up configuring someone else's TP-Link router, you might be tempted to think that the hardware mode switch indicated the actual operating mode ..... but it might not.

Comments